A practical field test for choosing pendant lights that fit the surface below, direct light where it is needed, and...
- There are no more items in your cart
- Shipping
- Total $0.00
A Quieter Kind of Rustic: How to Choose a Flush Mount
Online, rustic lighting is often presented through its loudest features: chunky wood, black cages, decorative bulbs, rope, and deliberately weathered finishes. Installed in a real home, those details can become much more assertive than they appeared in a product image. A fixture that seemed warm and casual may suddenly turn a hallway or bedroom into a stage set.
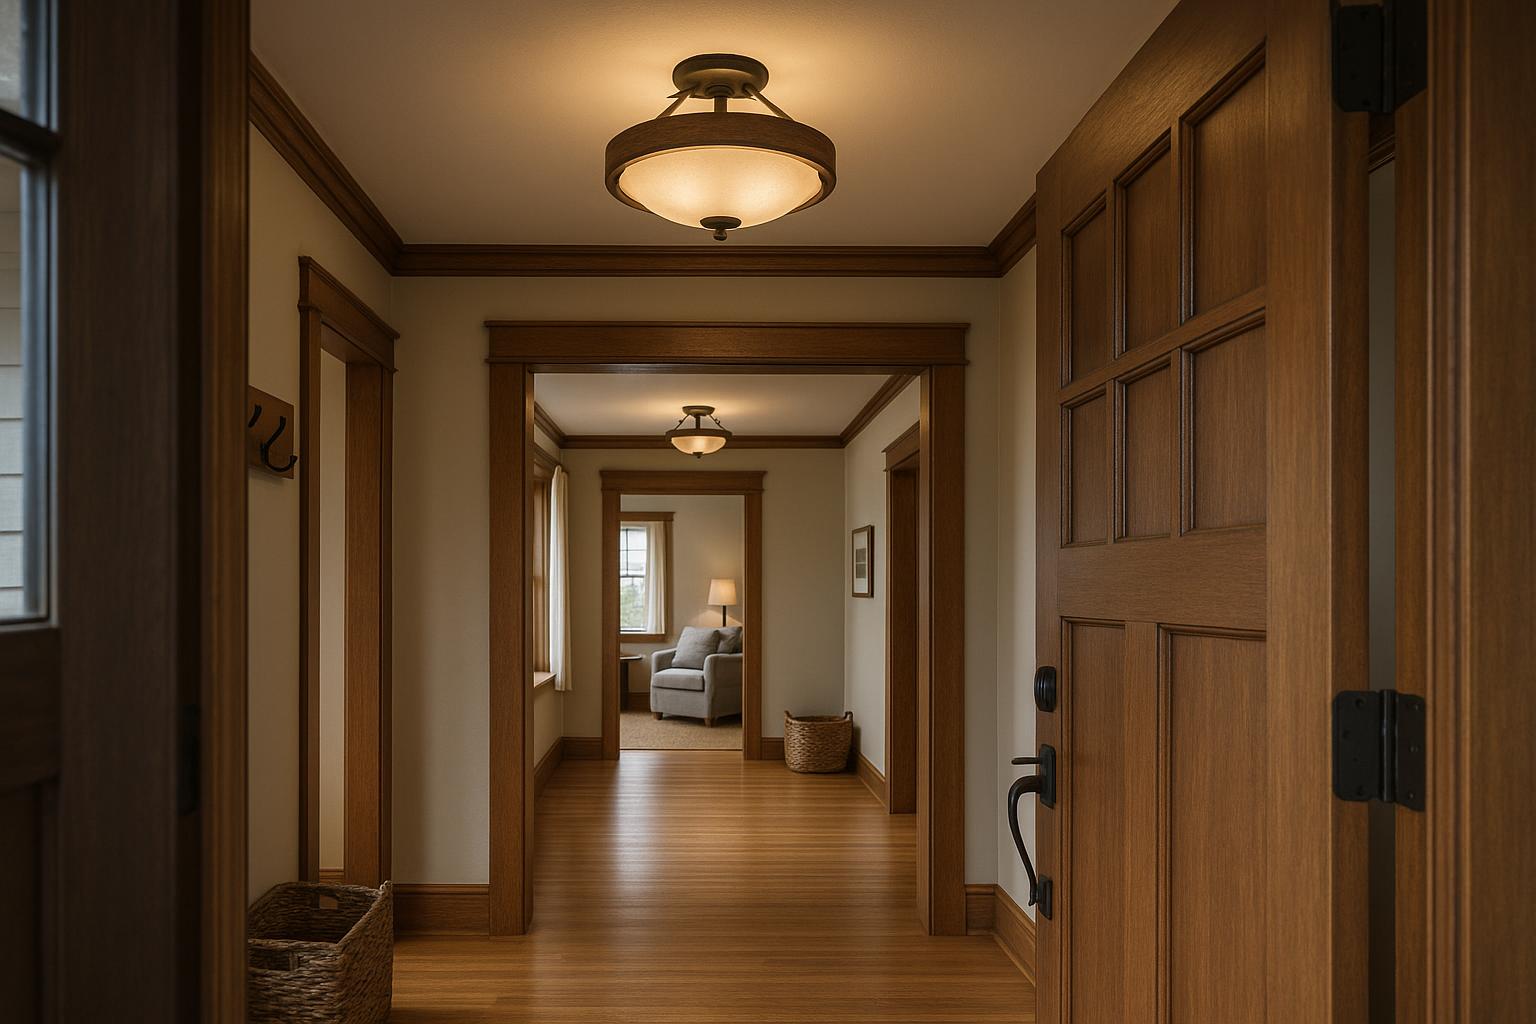
The better approach is to treat rustic character as an accent rather than a complete decorating plan. rustic flush mount lights are especially useful for this because they preserve headroom while bringing texture and contrast to the ceiling. The right one should look connected to the house, even if the house is a California ranch, a new-build townhome, or a plain suburban home rather than a cabin.
Read the room before the catalog
Begin with the parts of the room that are already established. Flooring, trim, doors, cabinetry, fireplace materials, ceiling height, and window style have more authority than a new light fixture. They reveal whether the room wants a sturdy Craftsman influence, a clean farmhouse note, or only a small amount of natural warmth.

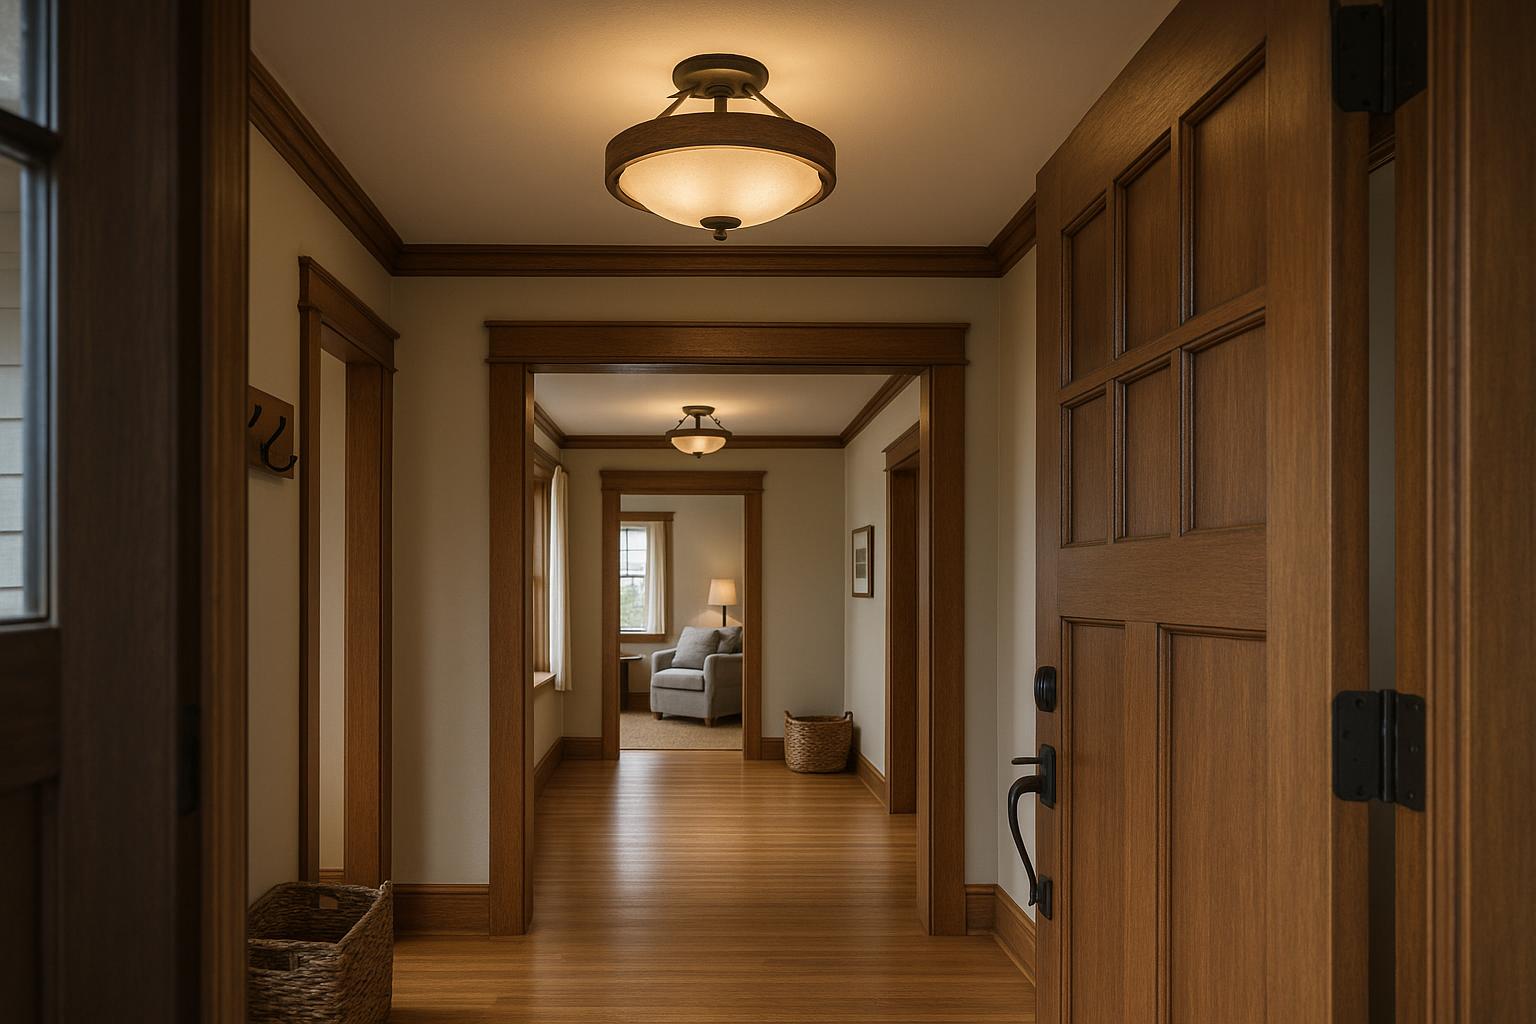
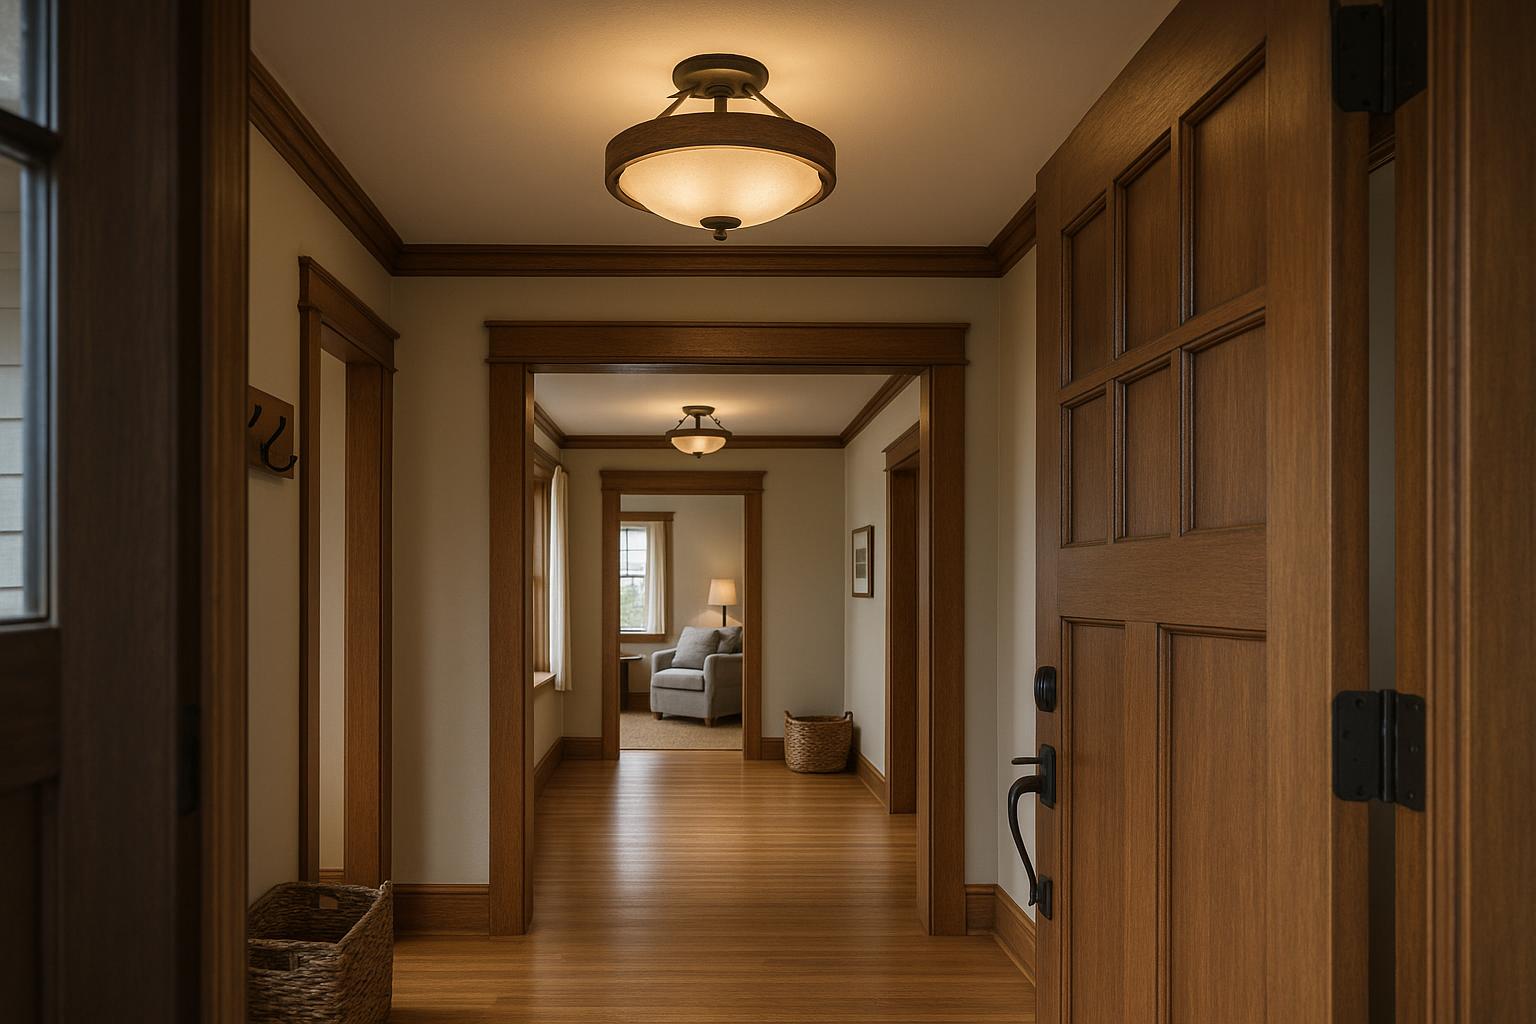
A Pacific Northwest Craftsman entryway with oak flooring and substantial stained trim can usually support a stronger wood-and-metal fixture. In a narrow hallway with white walls, painted doors, and an 8-foot ceiling, the same design may feel heavy. There, a compact profile with one warm material is often enough.
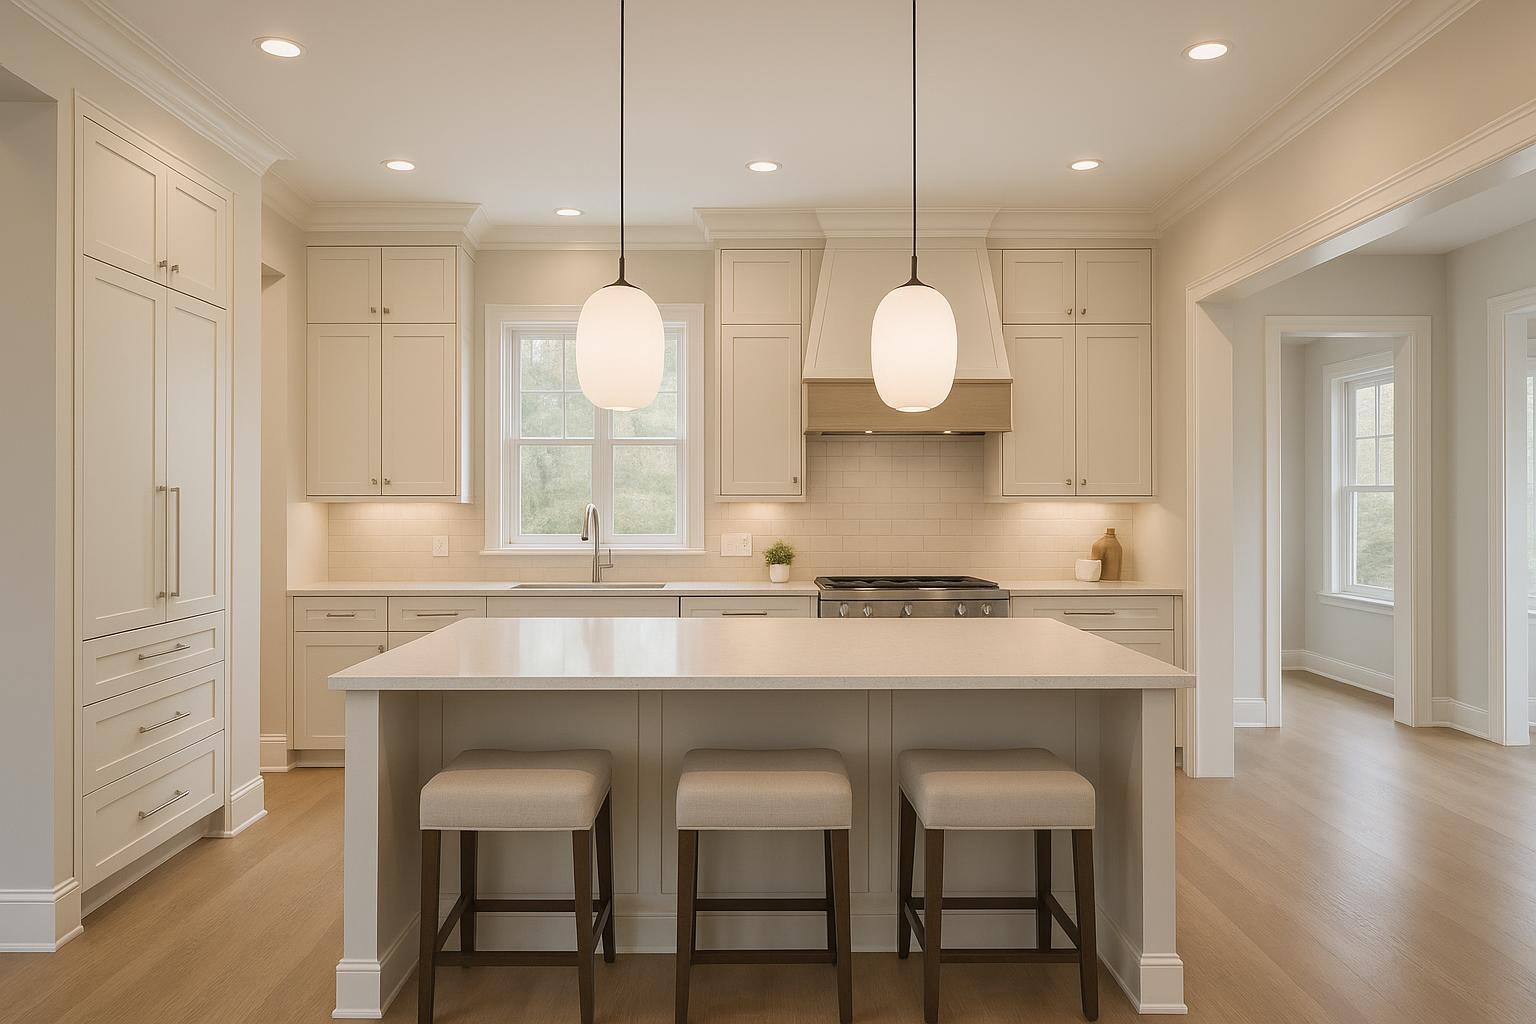
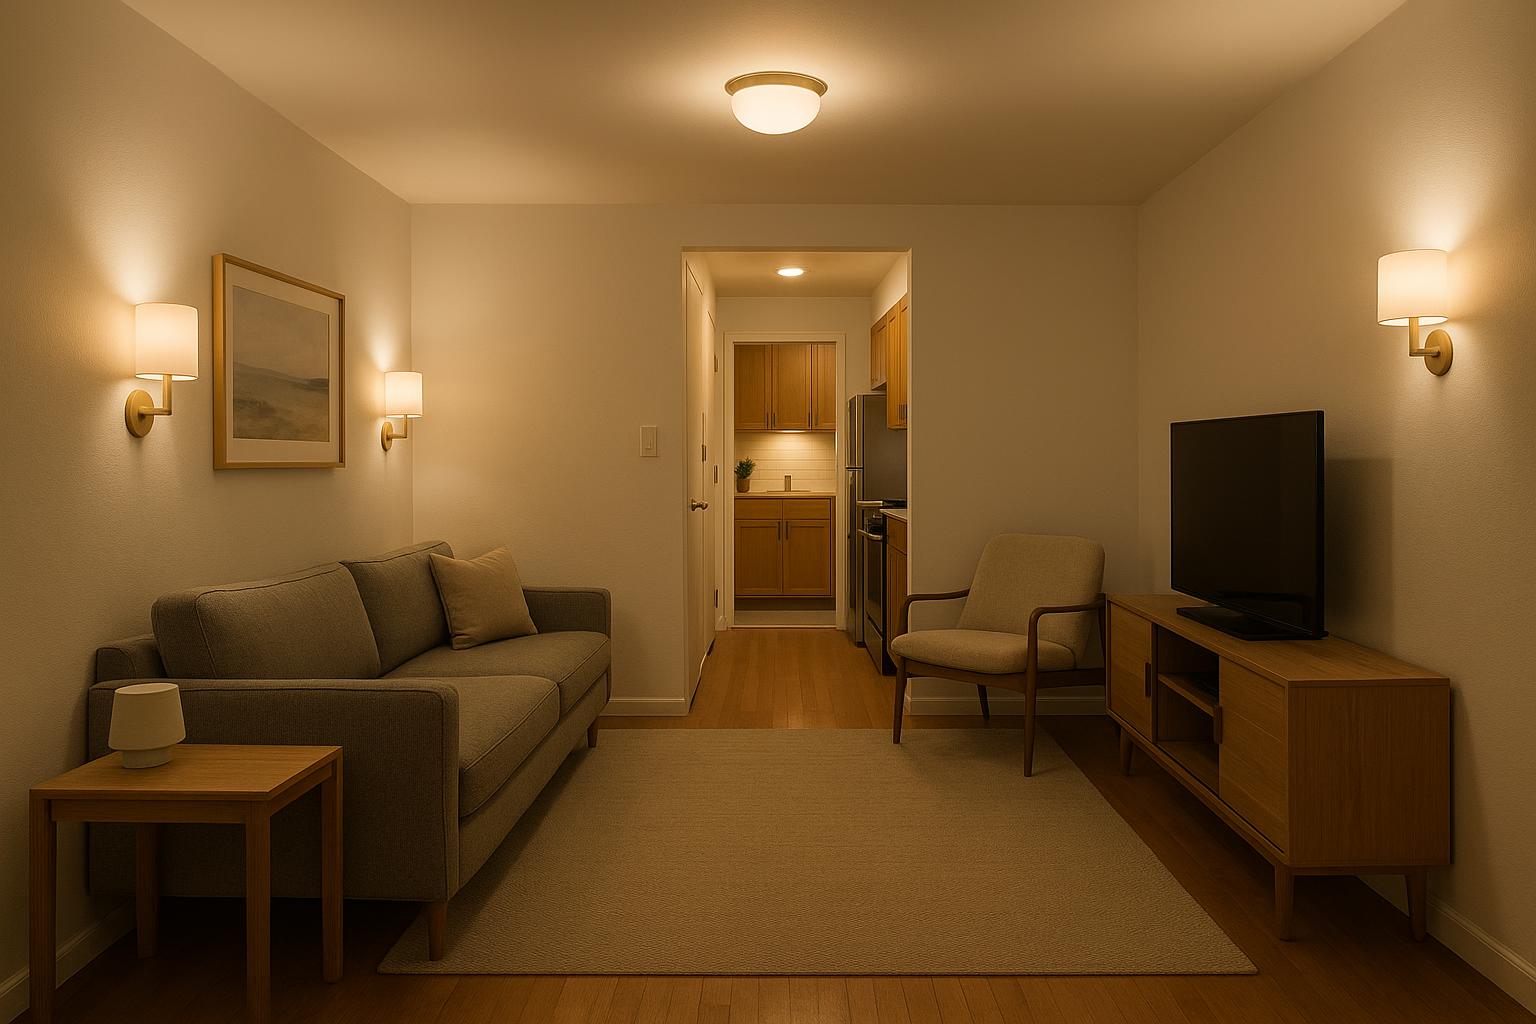
Notice what the ceiling is visible beside, too. In an open-plan home, a flush mount may share sightlines with kitchen pendants, dining lighting, and family room lamps. Those fixtures do not need to match, but they should not seem to belong to unrelated houses.
Set the volume of the rustic detail
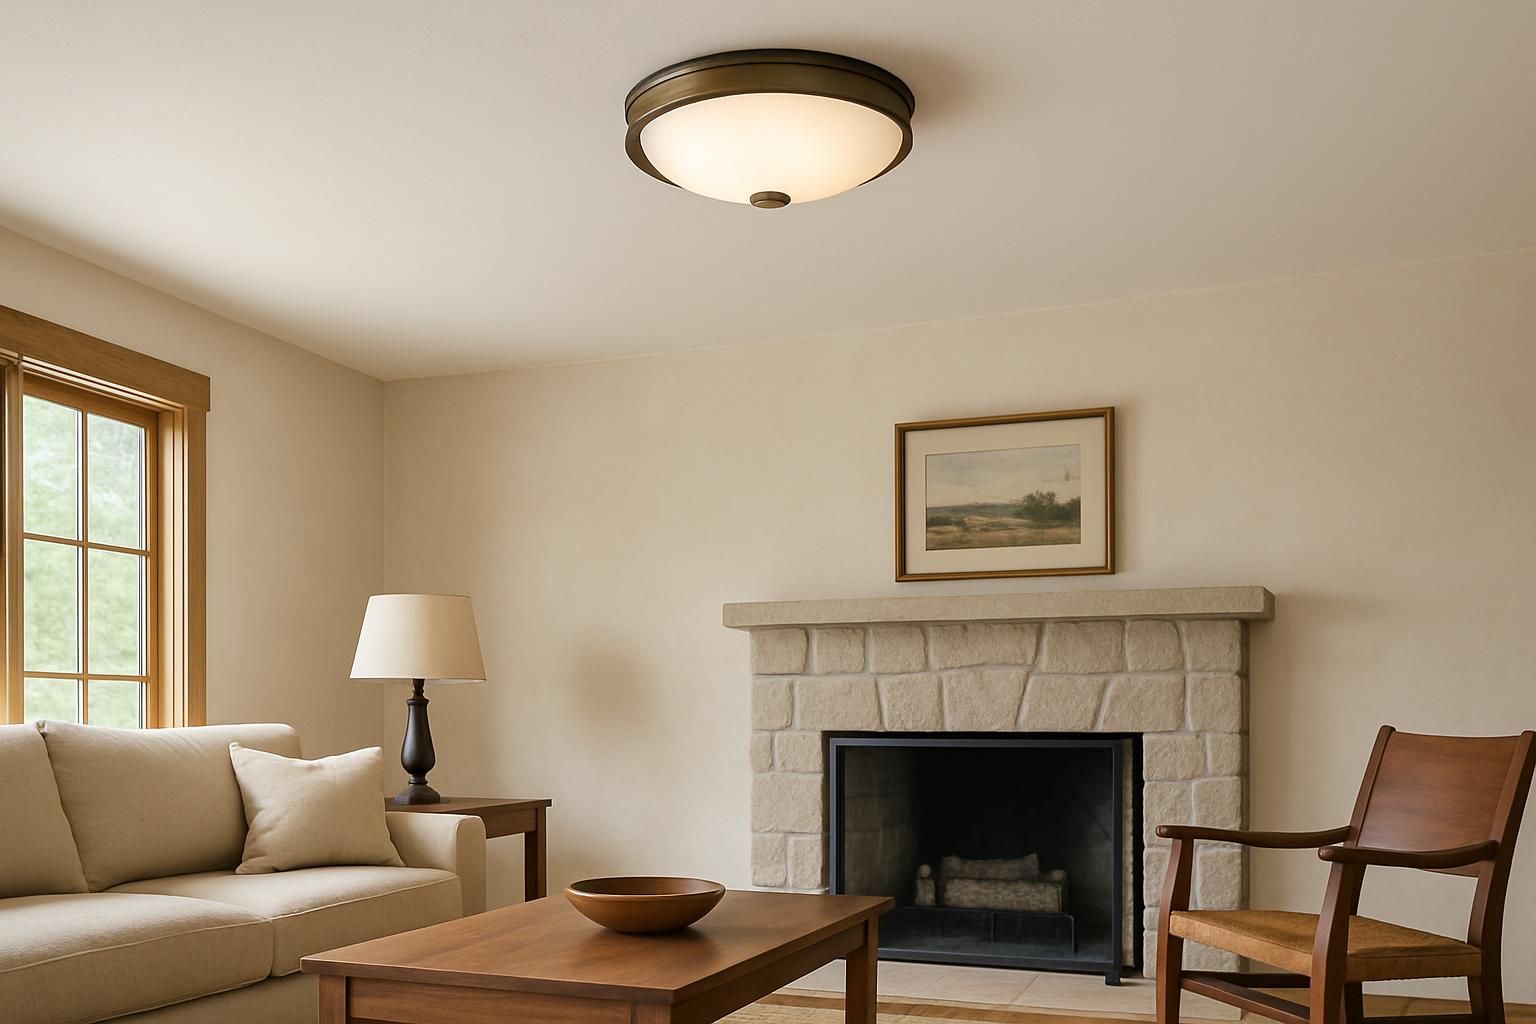
Rustic style has a visual volume. A simple bronze rim around frosted glass speaks quietly. Thick crossing straps, distressed planks, exposed fasteners, and several decorative bulbs speak much louder. Decide how much emphasis the ceiling should receive before comparing individual products.
Rooms with architecture, art, patterned rugs, or prominent stonework rarely need another forceful feature overhead. A simpler fixture can support those elements without becoming forgettable. Conversely, a finished basement or minimally detailed mudroom may benefit from a clearer silhouette because the light is one of the few opportunities to add character.
Repetition raises the volume as well. A cage design that feels appealing as a single fixture may look busy when installed four times down a hallway. When several ceiling lights will be visible together, reduce the number of bars, bulbs, finish changes, and decorative joints in each one.
Coordinate wood without forcing a match
Wood flush mount lights do not have to duplicate the flooring or furniture. Exact matching can look artificial, particularly when the finishes come from different manufacturers. Aim instead for a believable relationship among undertone, depth, and level of distressing.
To complement this topic, you can also read What the Mirror Sees: Choosing Wall Lights From Every Angle.
Golden oak generally sits more comfortably near warm medium-brown wood than near a cold gray wood effect. Walnut can work with lighter timber when both finishes feel rich rather than washed out. If the room already contains several wood species, a restrained fixture can act as a bridge instead of introducing a fourth emphatic color.
Product photography can make wood appear warmer, darker, or more textured than it is. Review close-up images and the written material description. If genuine wood matters, confirm that it is actually listed rather than assuming from the grain shown in a photograph.
Use metal to sharpen or soften the design
Metal controls much of a rustic fixture's definition. Matte black creates a crisp outline and can connect with door hardware, window frames, or a fireplace screen. It can also feel severe against a low white ceiling when the frame is thick. Muted iron, dark bronze, or a softened black finish may provide contrast with less visual weight.
Consider the amount of metal, not just its color. A narrow frame around glass reads differently from a deep cage made from multiple straps. farmhouse flush mounts with clean construction are often easier to place than designs that combine heavy metalwork, conspicuous distressing, and novelty bulbs.
There is no need to change every knob or hinge to match the ceiling light. One or two related metal notes elsewhere in the room are enough to make the choice look deliberate.
Study the fixture from below
Most product images show a light from the side or at a flattering angle. At home, a flush mount is frequently seen from directly underneath. The bottom view may expose sockets, wiring covers, bulb bases, seams, or a large central fastener that was barely visible online.

Look for photographs of the underside and consider the primary viewing positions. In a bedroom, that means lying on the bed. In a family room, sit on the sofa. In a hallway, stand at each doorway and look along the ceiling plane. Clear glass and open cages can be attractive from across a room yet uncomfortable when a bare bulb enters the direct line of sight.
Mark the listed diameter with painter's tape on the floor or make a paper template. Then view it from the doorway. This simple test helps distinguish a purposeful footprint from one that crowds the ceiling, especially near vents, recessed lights, smoke alarms, or attic access panels.
In the same direction, Make the Ceiling Count: A Flush Mount With Real Presence offers useful ideas for choosing home lighting more confidently.
Plan the light as carefully as the look
Rustic interiors often include surfaces that absorb light, such as brick, dark paint, leather, stone, and wood paneling. A decorative fixture alone may not provide enough illumination for the room's actual tasks.
Check the supported bulb type, number of bulbs, maximum ratings, dimming information, and manufacturer-provided output for integrated LED models. Compare lumens rather than judging brightness from decorative bulb shape or wattage alone. If the fixture uses replaceable bulbs, confirm that the intended bulb fits within the enclosure and does not extend awkwardly below it.
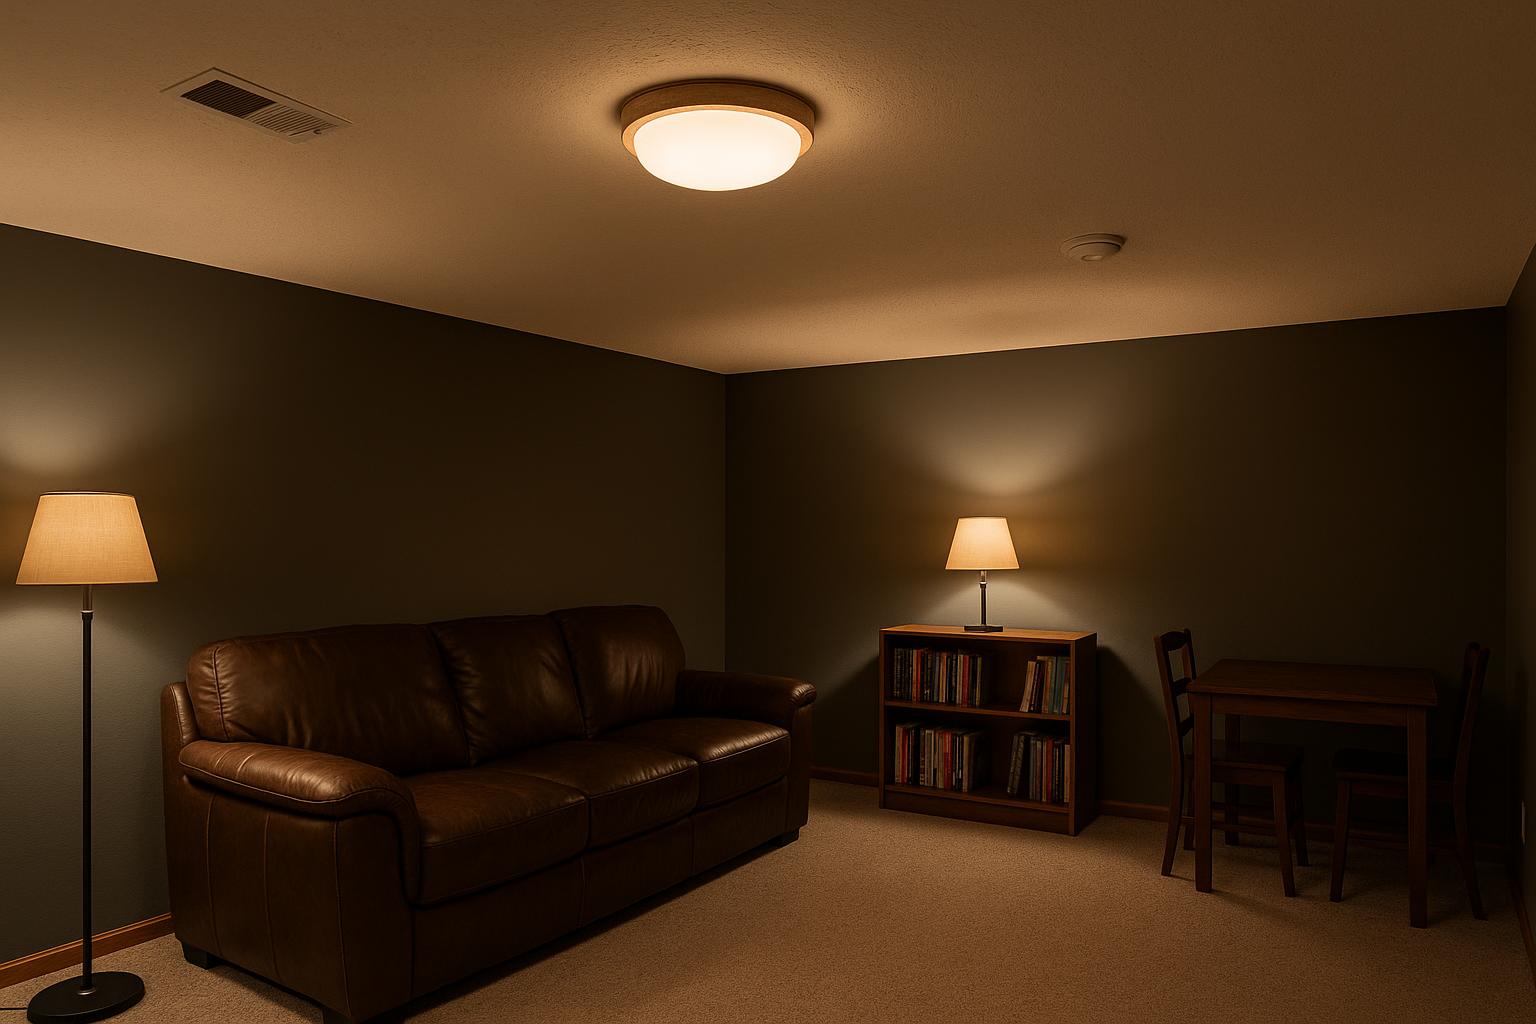
Shade treatment matters. Clear glass preserves sparkle but reveals the source and any dust. Frosted or opal glass reduces direct glare and usually produces a more even appearance. An open-frame design releases more light into the room, although its bulb becomes part of the composition. In a dark basement or north-facing den, combine the ceiling fixture with lamps or wall lighting rather than expecting one rustic ceiling light to do every job.
Adapt the choice to the room
A mudroom needs useful ambient light for sorting shoes, cleaning the floor, and finding items in cubbies. A compact enclosed source is often more practical there than intricate glass or a deep decorative cage. In a bedroom, the underside deserves special attention because the fixture may be viewed from the pillow.
For a den or mountain cabin, cabin light fixtures can carry more texture when stone, books, and substantial furniture already make the material feel authentic. Restraint still matters: one strong ceiling fixture is usually more convincing than repeating the same rustic motif in wall art, textiles, and accessories.
For more consistent lighting throughout the home, the article Plan Bathroom Wall Sconces Around the Mirror may also be helpful.
Kitchens and connecting passages require coordination with nearby pendants, but not miniature copies of them. Share one quality, such as a dark finish or warm wood tone, while allowing the silhouettes to differ. Bathrooms, garages, covered patios, and other moisture-prone areas require a fixture specifically listed for the intended location.
Work with the existing ceiling
Before ordering, check the total fixture height, canopy dimensions, mounting method, and space needed to remove glass or replace bulbs. A product labeled as a flush mount can still project several inches, which matters near tall doors, bunk beds, closet openings, or low beams.
Older homes may have uneven plaster, small electrical boxes, decorative medallions, or visible patches that a narrow canopy will not cover. Newer ceilings may be crowded by vents, sprinklers, detectors, and can lights. A wider canopy can sometimes conceal minor cosmetic issues, but it should never be used to hide an unsuitable box or unsupported installation.
Confirm whether the model is approved for a sloped ceiling if that is where it will be mounted. Installation should follow the manufacturer's instructions and applicable requirements. A licensed electrician can assess the electrical box, wiring, support, clearances, and location conditions.
Build a disciplined final shortlist
Evaluate practical constraints first and decorative appeal last. A useful order is:

- Fit: diameter, projection, canopy size, and ceiling condition.
- Location: room use and any required dry- or damp-location listing.
- Light: output, diffusion, glare, bulb access, and dimming compatibility.
- Material: wood undertone, metal weight, and the accuracy of the listed finish.
- Character: the amount of distressing, framing, and decorative detail.
Keep room photographs and measurements beside you when you compare rustic flush mount lights. The most convincing choice may not be the fixture with the most obvious rustic features. It will be the one that fits the ceiling, illuminates the room well, and adds warmth without asking the rest of the home to follow a theme.